Woodland & Forest Photography
Bringing the Beauty of Woodlands and Forests to Life
February 4, 2024
WEEKLY NEWSLETTER
Dear Photography Enthusiasts,
In this newsletter, I will explore some tips and techniques to create stunning woodland & forest photos with a sense of depth and separation. Woodlands, and forests are full of natural beauty and mystery, but they can also be challenging to photograph. How do you capture the mood and atmosphere of a forest without making it look flat and cluttered? How do you isolate your subject from the busy background and make it stand out? Let's find out!
DEPTH IN AN IMAGE:
To use mist effectively, you need to choose a time and a place where mist is likely to occur. For example, you can find mist in the early morning, after a rain, or near a water source. You can also use a polarizing filter to reduce the glare and enhance the contrast of the mist. Make sure to expose for the mist and use a low ISO (such as 100 or 200) to avoid noise and grain.

To create depth in a woodland or forest photos, you need to consider three main components: foreground, midground, and background. These are the different layers of the scene that are closer or farther away from the camera. By including elements from each layer, you can create a sense of depth and dimension in your photo.
Foreground:
The foreground is the part of the scene that is closest to the camera. It is usually the first thing that catches the viewer's eye and draws them into the photo. The foreground can also create a frame for the rest of the scene, adding interest and context.ynamism.

To use the foreground effectively, you need to choose an element that is relevant to the scene and the story you want to tell. For example, you can use a fallen log, a mushroom, a flower, or a leaf as a foreground element. You can also use a wide-angle lens to exaggerate the size and importance of the foreground element. Make sure to focus on the foreground element and use a small aperture (such as f/11 or f/16) to keep the rest of the scene in focus as well.
Midground:
The midground is the part of the scene that is between the foreground and the background. It is usually the main subject of the photo, such as a tree, a stream, a rock, or a person. The midground is where you want to draw the viewer's attention and convey the message of your photo.

To use the midground effectively, you need to choose an element that is clear and distinct from the foreground and the background. For example, you can use a tree that has a different shape, color, or texture from the surrounding trees. You can also use a telephoto lens to compress the perspective and make the midground element appear larger and closer. Make sure to focus on the midground element and use a medium aperture (such as f/5.6 or f/8) to keep it sharp and blur the foreground and the background slightly.
Background:
The background is the part of the scene that is farthest away from the camera. It is usually the least important part of the photo, but it can still add depth and context to the scene. The background can also create a mood and atmosphere for the photo, such as calm, mysterious, or dramatic.

To use the background effectively, you need to choose an element that is subtle and complementary to the foreground and the midground. For example, you can use a distant hill, a misty valley, a cloudy sky, or a sunbeam as a background element. You can also use a narrow-angle lens to isolate the background element and make it appear smaller and farther away. Make sure to focus on the midground element and use a large aperture (such as f/2.8 or f/4) to blur the background and make it less distracting.
SEPARATION:
Another key element of a good woodland & forest photo is separation. Separation is the ability to distinguish different elements in a scene from each other. Separation can also create a sense of contrast, harmony, and balance in a photo.
To create separation in a woodland or forest photos, you need to consider four main factors: mist, color, sharpness, and light. These are the different ways to create a difference between the elements in a scene and make them stand out.
Mist:
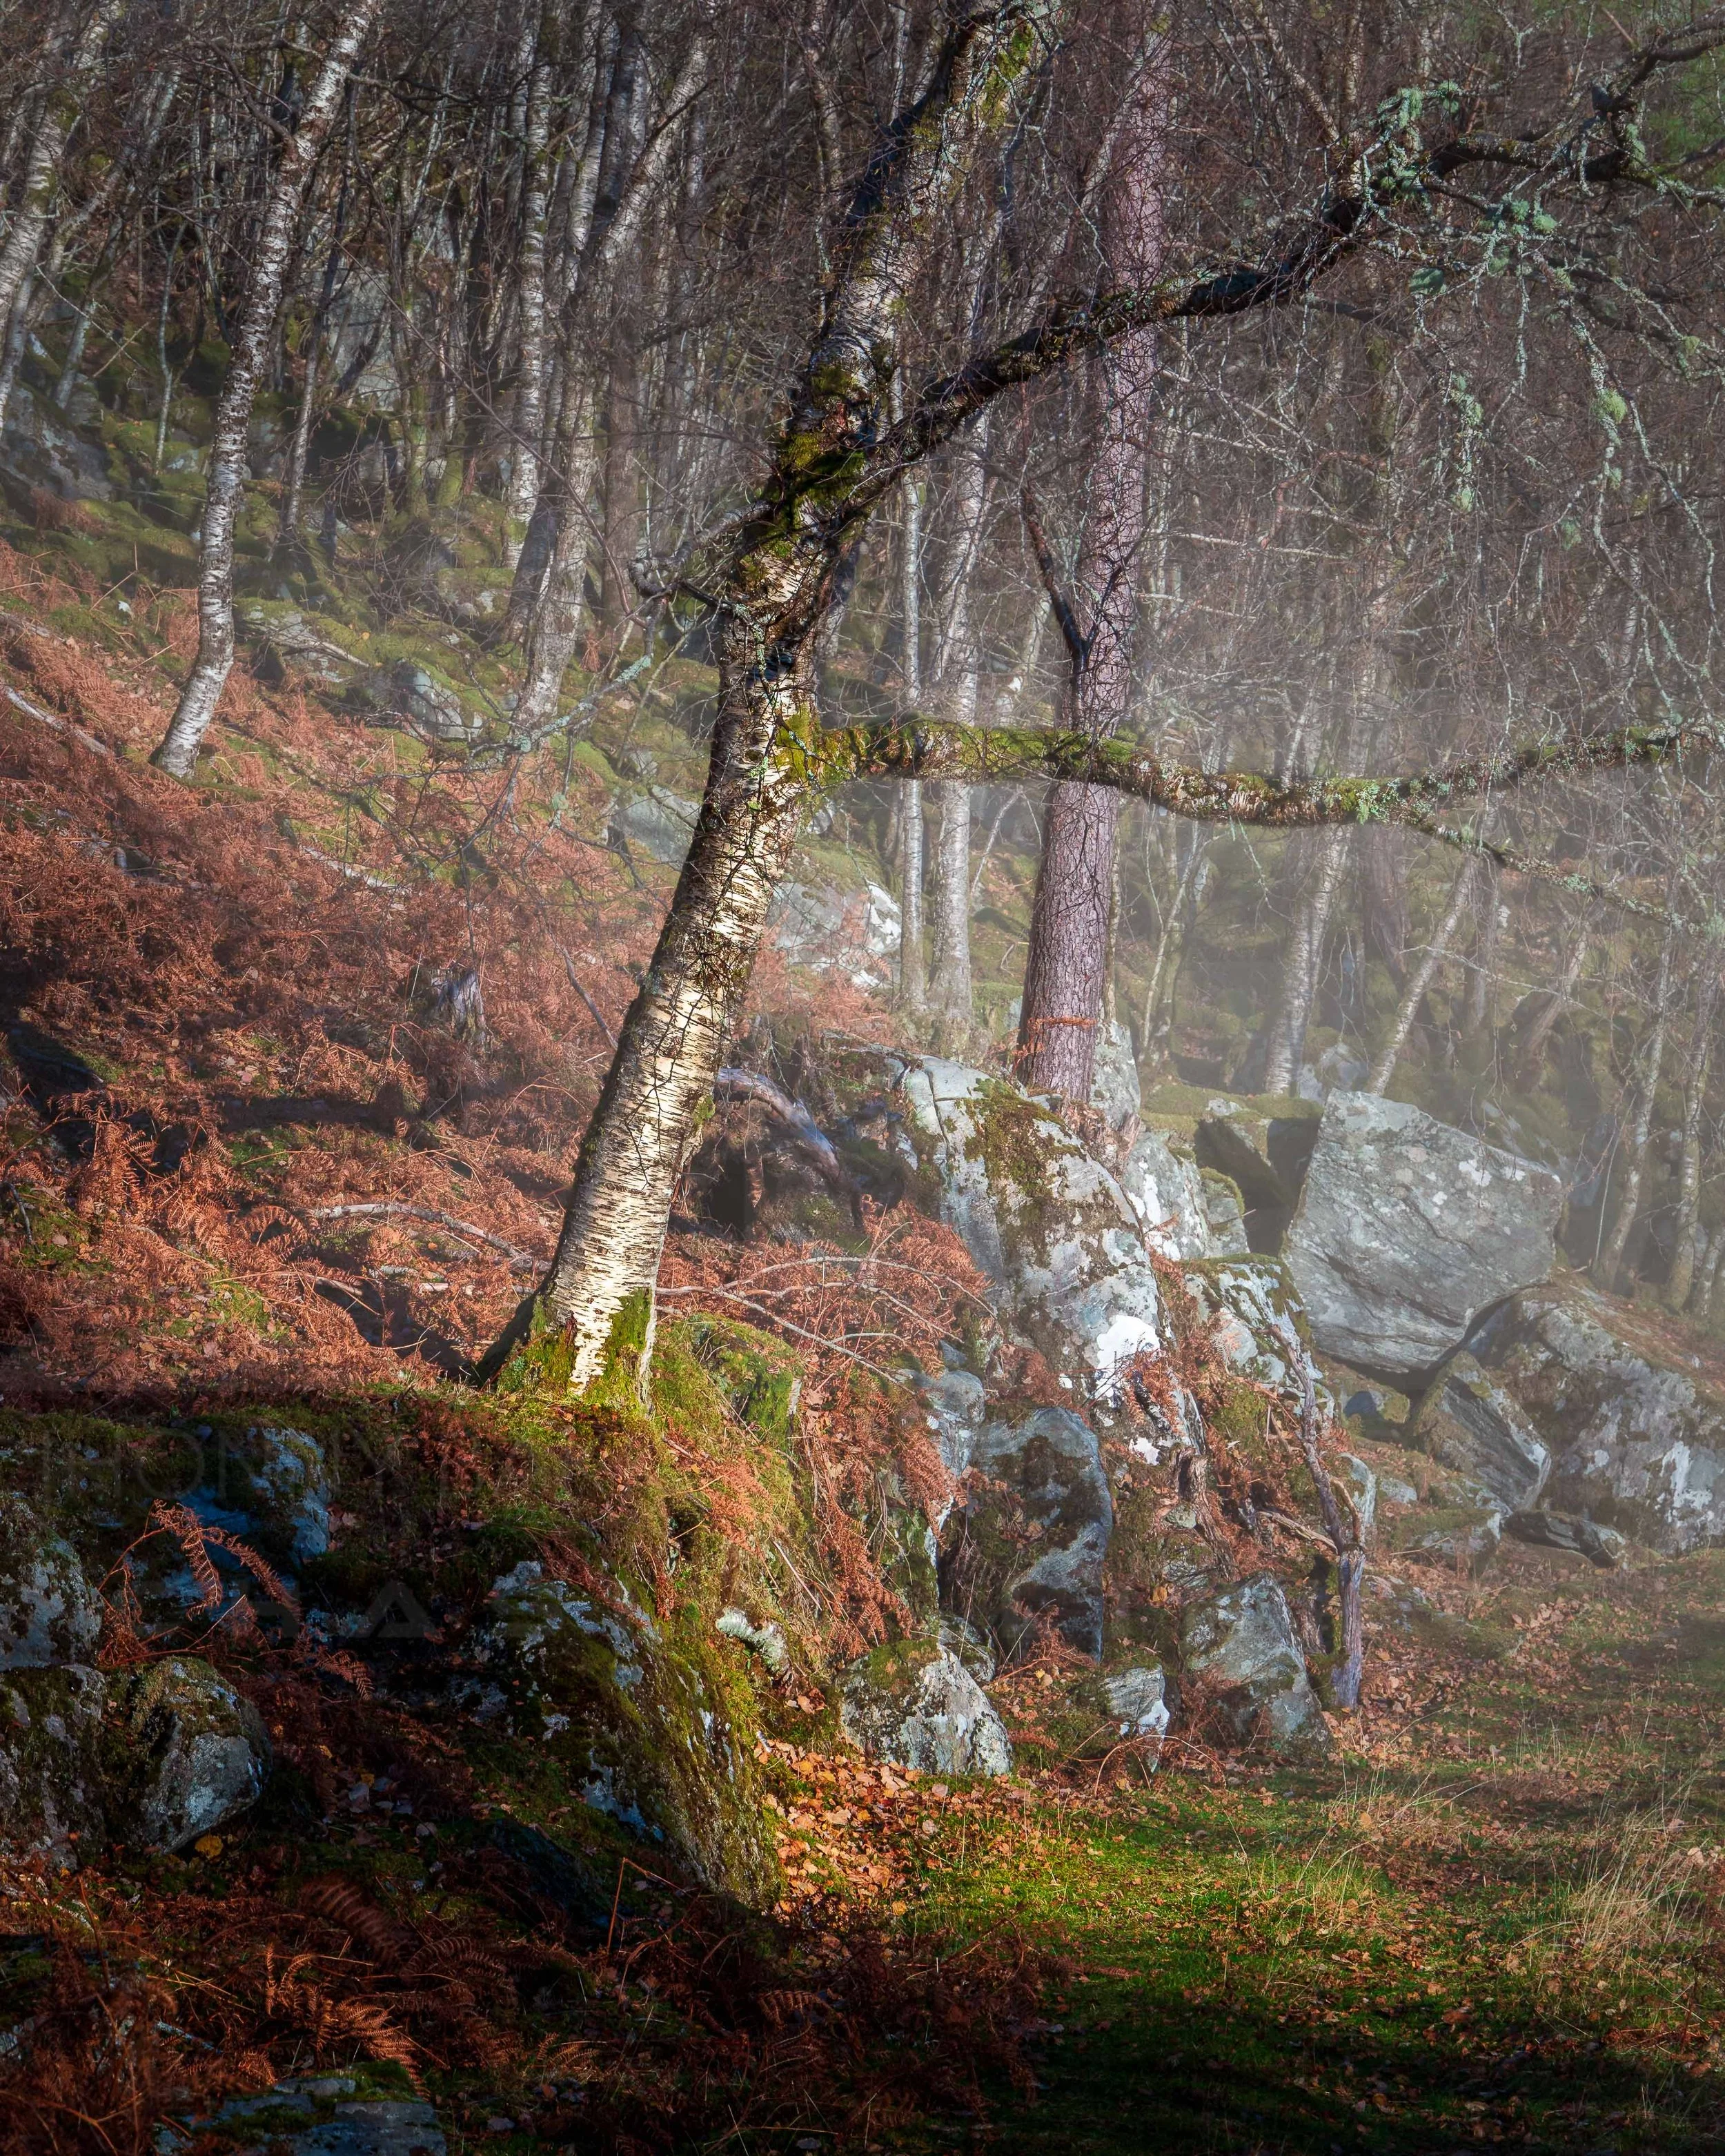
Mist is a natural phenomenon that occurs when water droplets are suspended in the air. Mist can create a sense of separation in a woodland or forest photos by creating layers of depth and softening the details of the scene. Mist can also create a sense of mystery and mood in a photo, as it obscures the background and reveals the foreground.

To use mist effectively, you need to choose a time and a place where mist is likely to occur. For example, you can find mist in the early morning, after a rain, or near a water source. You can also use a polarizing filter to reduce the glare and enhance the contrast of the mist. Make sure to expose for the mist and use a low ISO (such as 100 or 200) to avoid noise and grain.
Color is a visual attribute that describes the hue, saturation, and brightness of an object. Color can create a sense of separation in a woodland and forest photos by creating a difference between the elements in a scene and making them more or less noticeable. Color can also create a sense of emotion and mood in a photo, as it affects the viewer's perception and feelings.

To use color effectively, you need to choose a color scheme that suits the scene and the story you want to tell. For example, you can use a warm color scheme (such as red, orange, or yellow) to create a sense of warmth, energy, or excitement. You can also use a cool color scheme (such as blue, green, or purple) to create a sense of calm, peace, or mystery. Make sure to adjust the white balance and use a color filter to enhance the color of the scene.
Sharpness:
Sharpness is a measure of how clear and crisp an object appears in a photo. Sharpness can create a sense of separation in a woodland or forest photo by creating a difference between the elements in a scene and making them more or less focused. Sharpness can also create a sense of realism and detail in a photo, as it shows the texture and structure of the scene.
To use sharpness effectively, you need to choose a focal point and a depth of field that suits the scene and the subject. For example, you can use a shallow depth of field (such as f/2.8 or f/4) to create a sharp foreground and a blurred background. You can also use a deep depth of field (such as f/11 or f/16) to create a sharp foreground, midground, and background. Make sure to use a tripod and a remote shutter release to avoid camera shake and motion blur.
In summary, woodland & forest photography is a rewarding and challenging genre that requires a good understanding of depth and separation. By using the tips and techniques we discussed, you can create stunning woodland and photos that capture the beauty and the mood of the forest. Remember to experiment with different elements, factors, and settings, and have fun!
I hope you enjoyed this issue of the Woodland & Forest Photography Newsletter, and that you learned something new and useful for your own photography. I would love to see your woodland and forest images, so please feel free to share them with me on my social media channels. Remember, every picture has a tale, and each tale can motivate and charm. Let's collaborate to keep spreading the amazing marvels of nature with the world.
Until next time, happy shooting. If you have any questions, comments, or feedback, please feel free to contact us.
PS: What’s the #1 thing that made you want to check out my newsletter? Reply and let me know. I read every reply.
Sincerely,
Jhonny Bakken
Founder, Woodland & Forest Photography
Woodland & Forest Photography,
Nygjerdet 14, 6030 Langevåg
Møre og Romsdal
NORWAY